Getting Started with OPNsense Installation
Moving on the installation process of OPNsense, you’ll need a few pieces of hardware this are only required for the installation.
- A USB flash drive with at least 4GB of free space
- One Ethernet cables for connecting your computer to OPNsense Server
- External storage media (such as an NVMe SSD, SATA SSD, SATA HDD, Micro-SD Card, or a USB Flash Drive) for installing OPNsense
- MONITOR, KEYBOARD & MOUSE: Only required for the installation, later on we wont be needing it.
Flash OPNsense Image to a USB Flash Drive
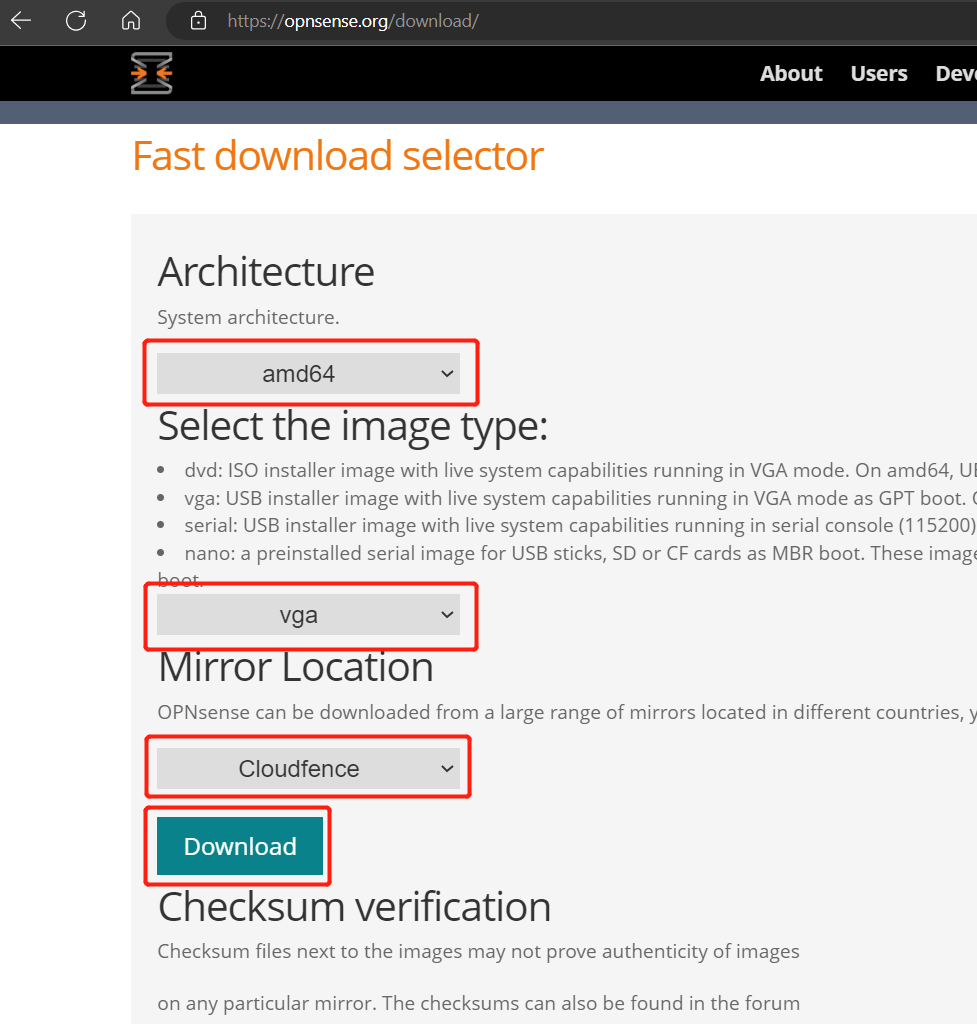
- Step 1. Visit this link to open the download page of OPNsense
- Step 2. Select amd64 as the Architecture, vga as the image type, choose any Mirror Location and click Download
- Step 3. Extract the .bz2 file to get an .img file
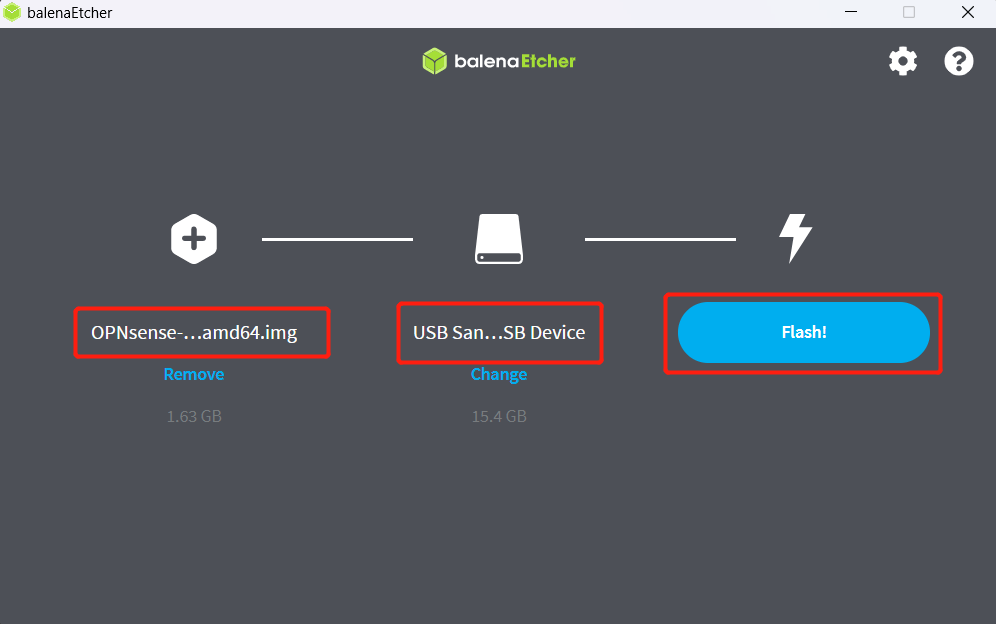
- Step 4. Download and install BalenaEtcher according to your OS by visiting this link and open it

- Step 5. Connect a USB flash drive to your PC, click Flash from file, select the downloaded/ extracted file from before, click Select target, choose the connected USB flash drive and click Flash
Boot OPNsense from flash drive and install on internal drive
- Step 1. Connect the USB flash drive that we flashed the OPNsense image before to one the of the USB ports on the Opnsense Server
- Step 2. Turn on GA-J1800N-D2H and continuously press DELETE key to enter BIOS
- Step 3. Go to Boot tab, select Boot Option #1 and select UEFI: USB, Partition 1

- Step 4. Go to Save & Exit tab, select Save Changes and Reset and select Yes for the pop up window.

The server will boot from the USB flash drive into OPNsense and you will see the following output if it boots successfully
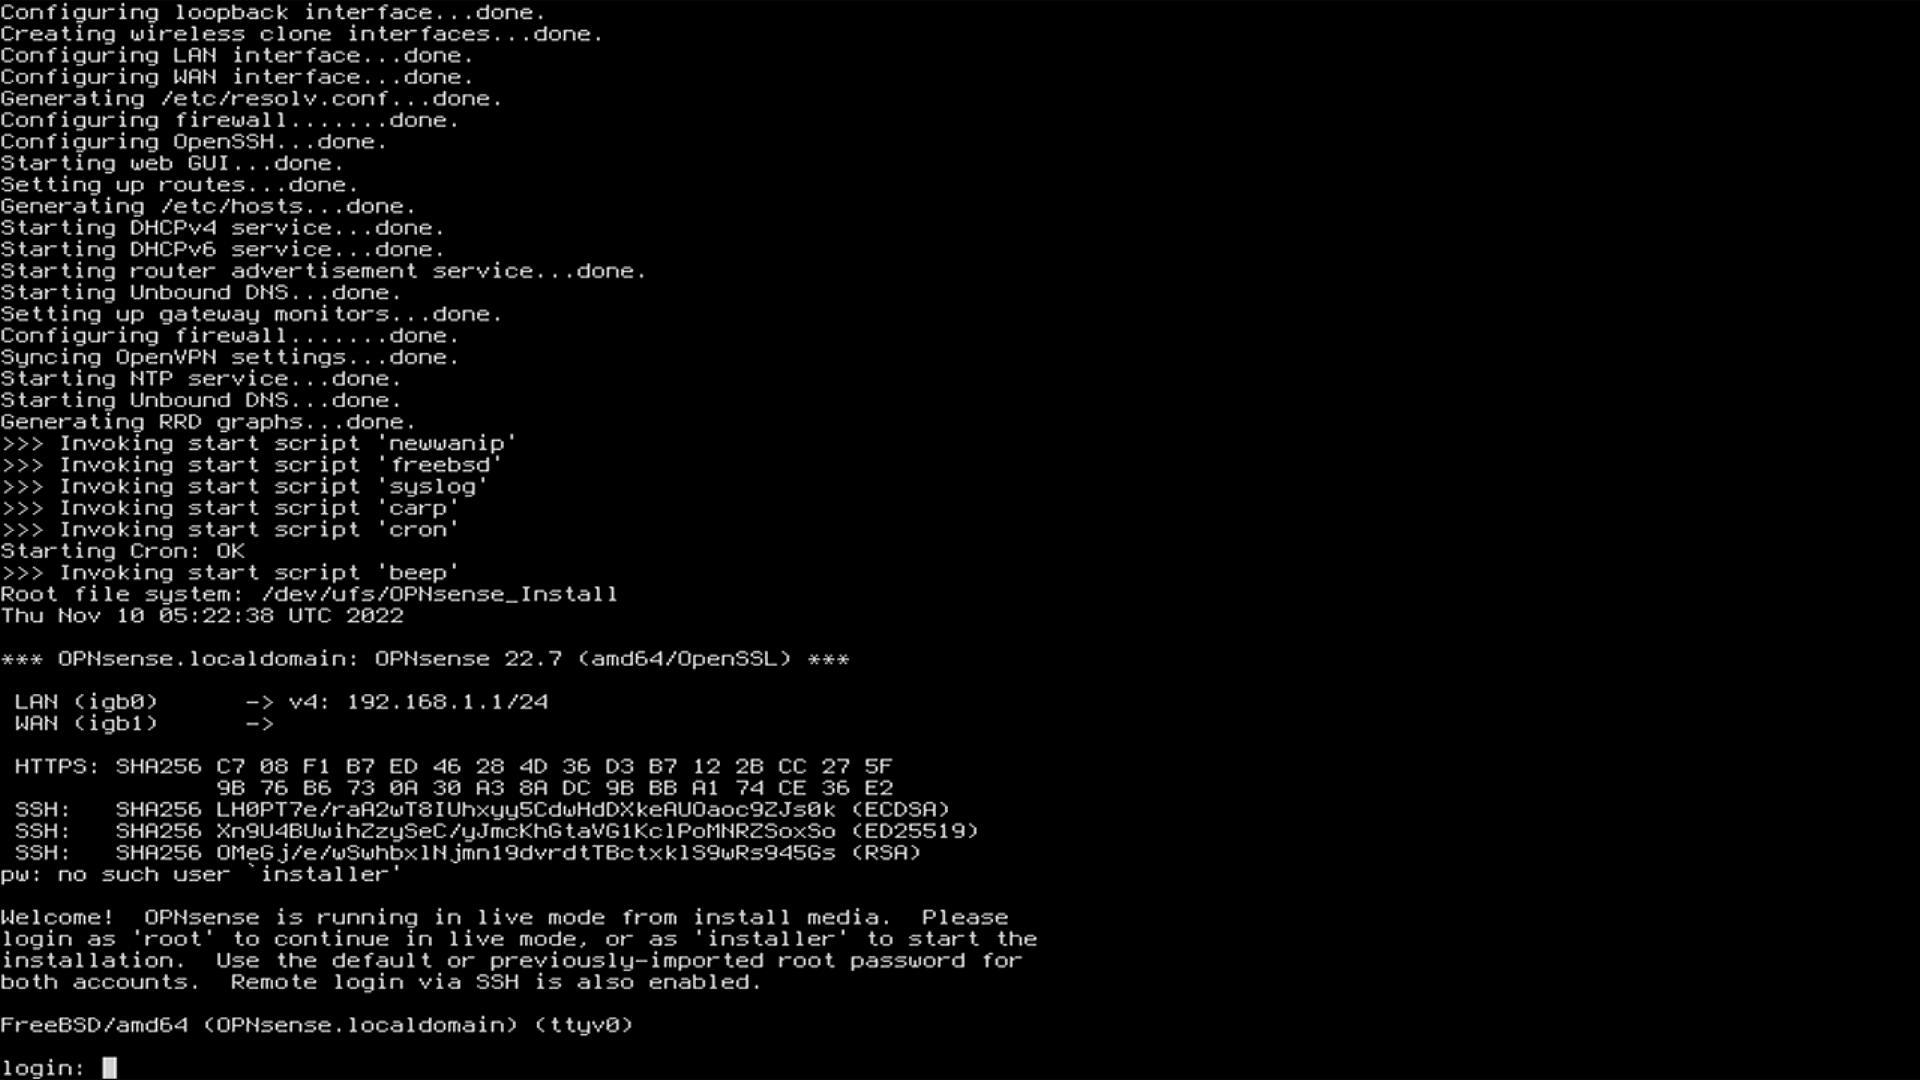
- Step 5. Type installer at the login: prompt and type opnsense as the password to enter the installation page
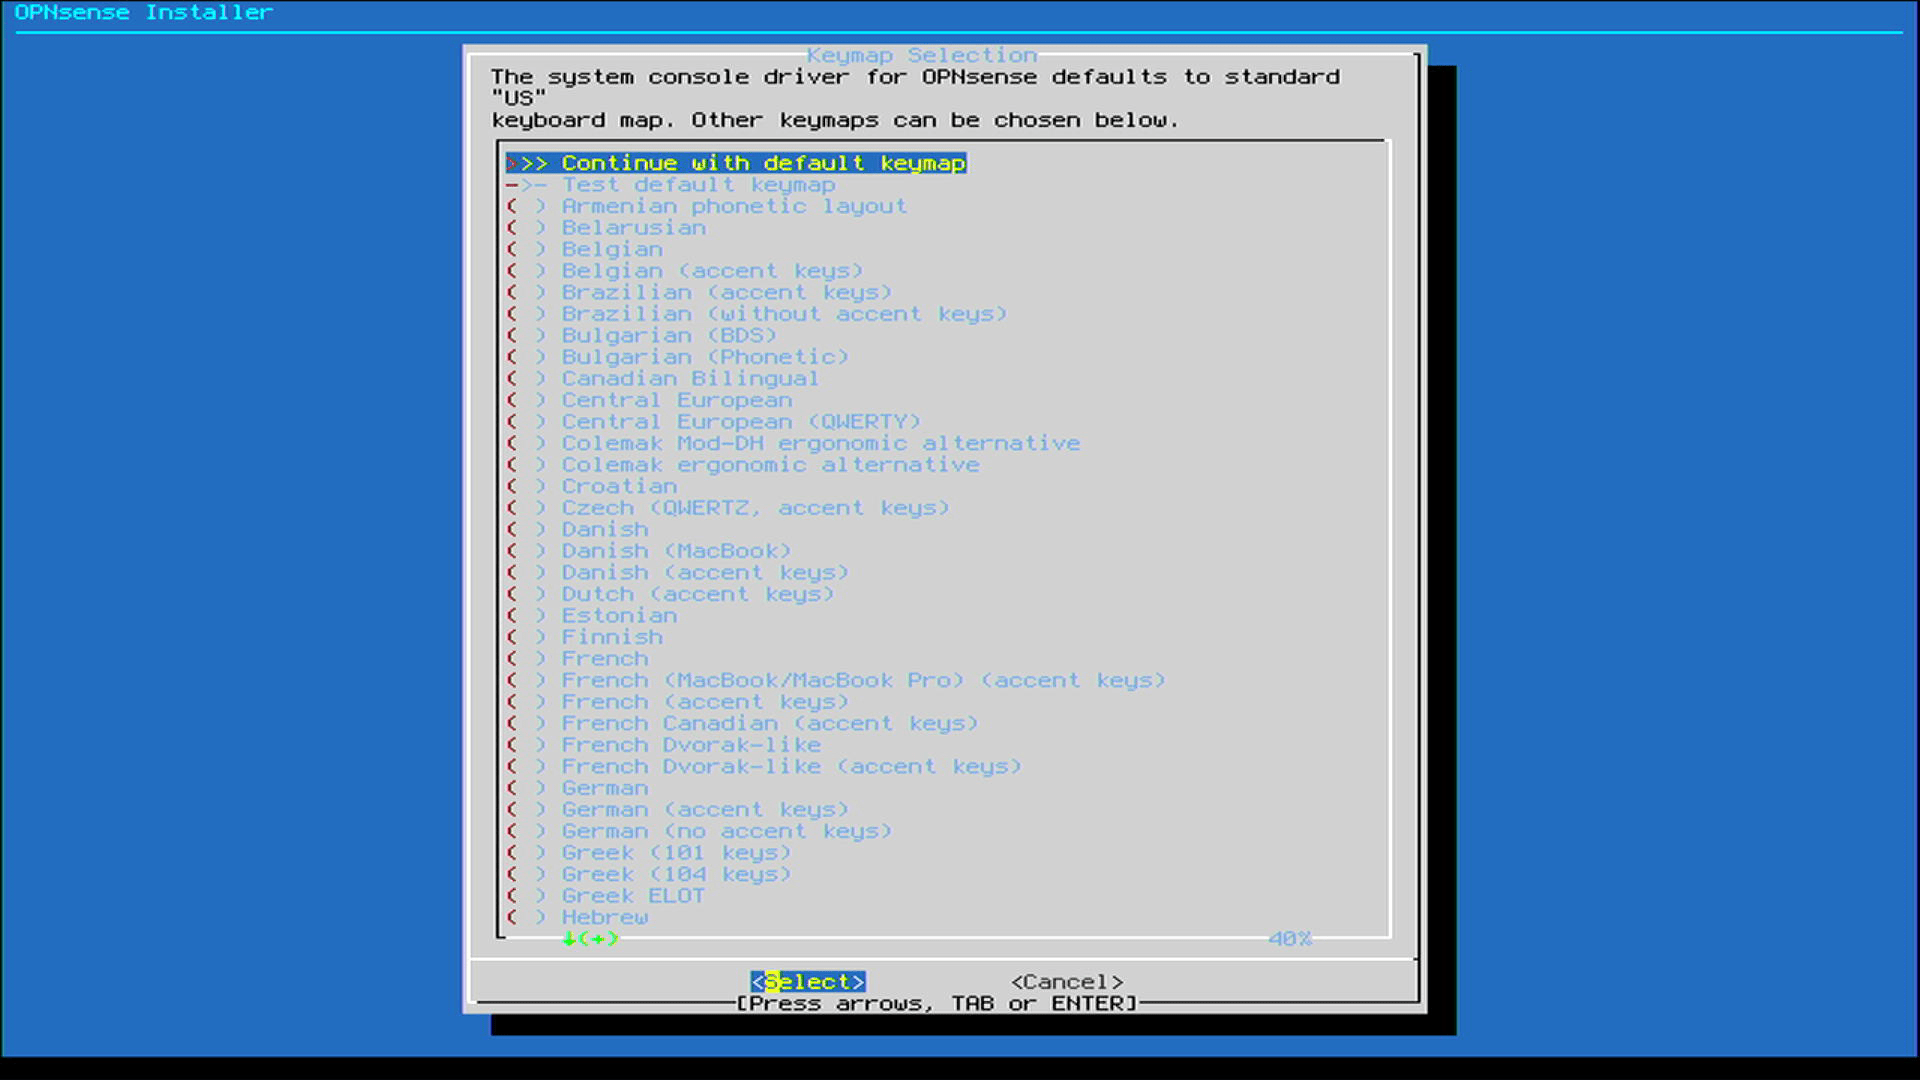
- Step 6. Select Continue with default keymap (default option) and press ENTER
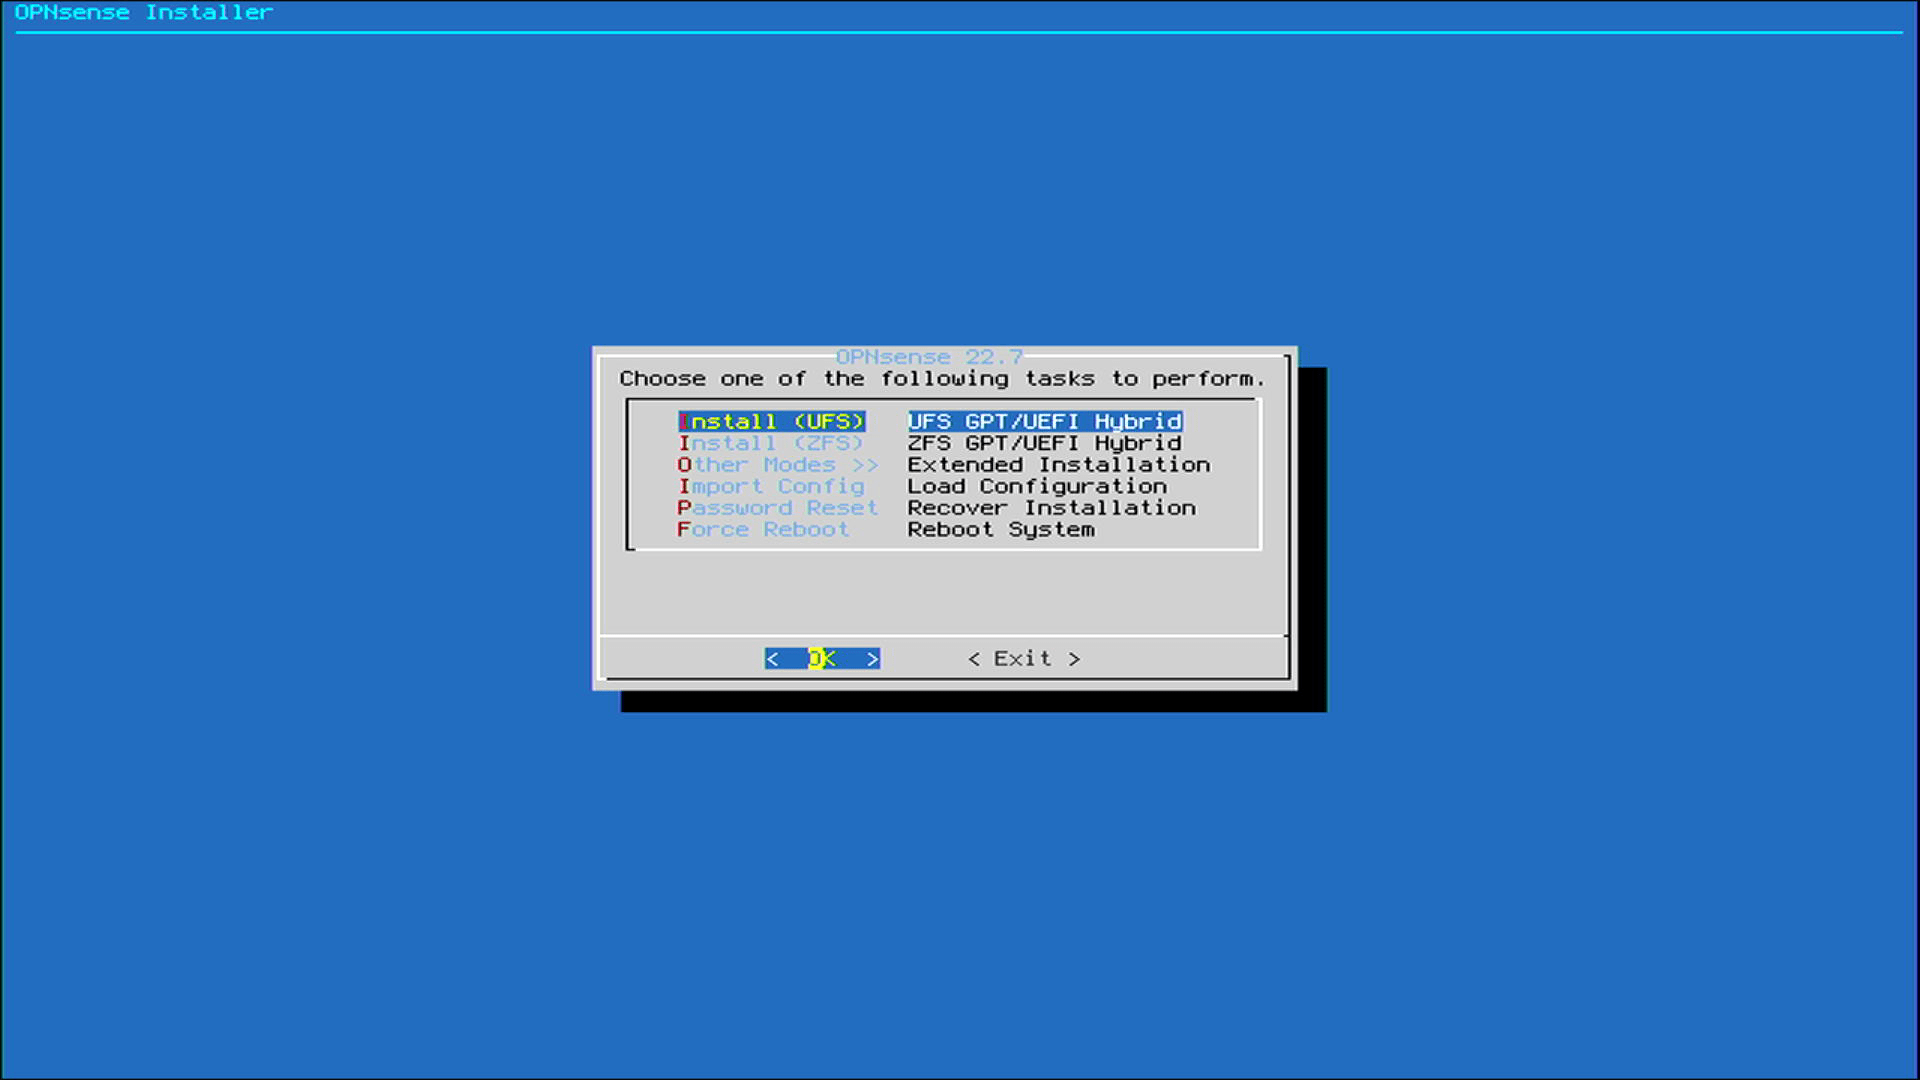
- Step 7. Select Install (UFS) (default option) and press ENTER
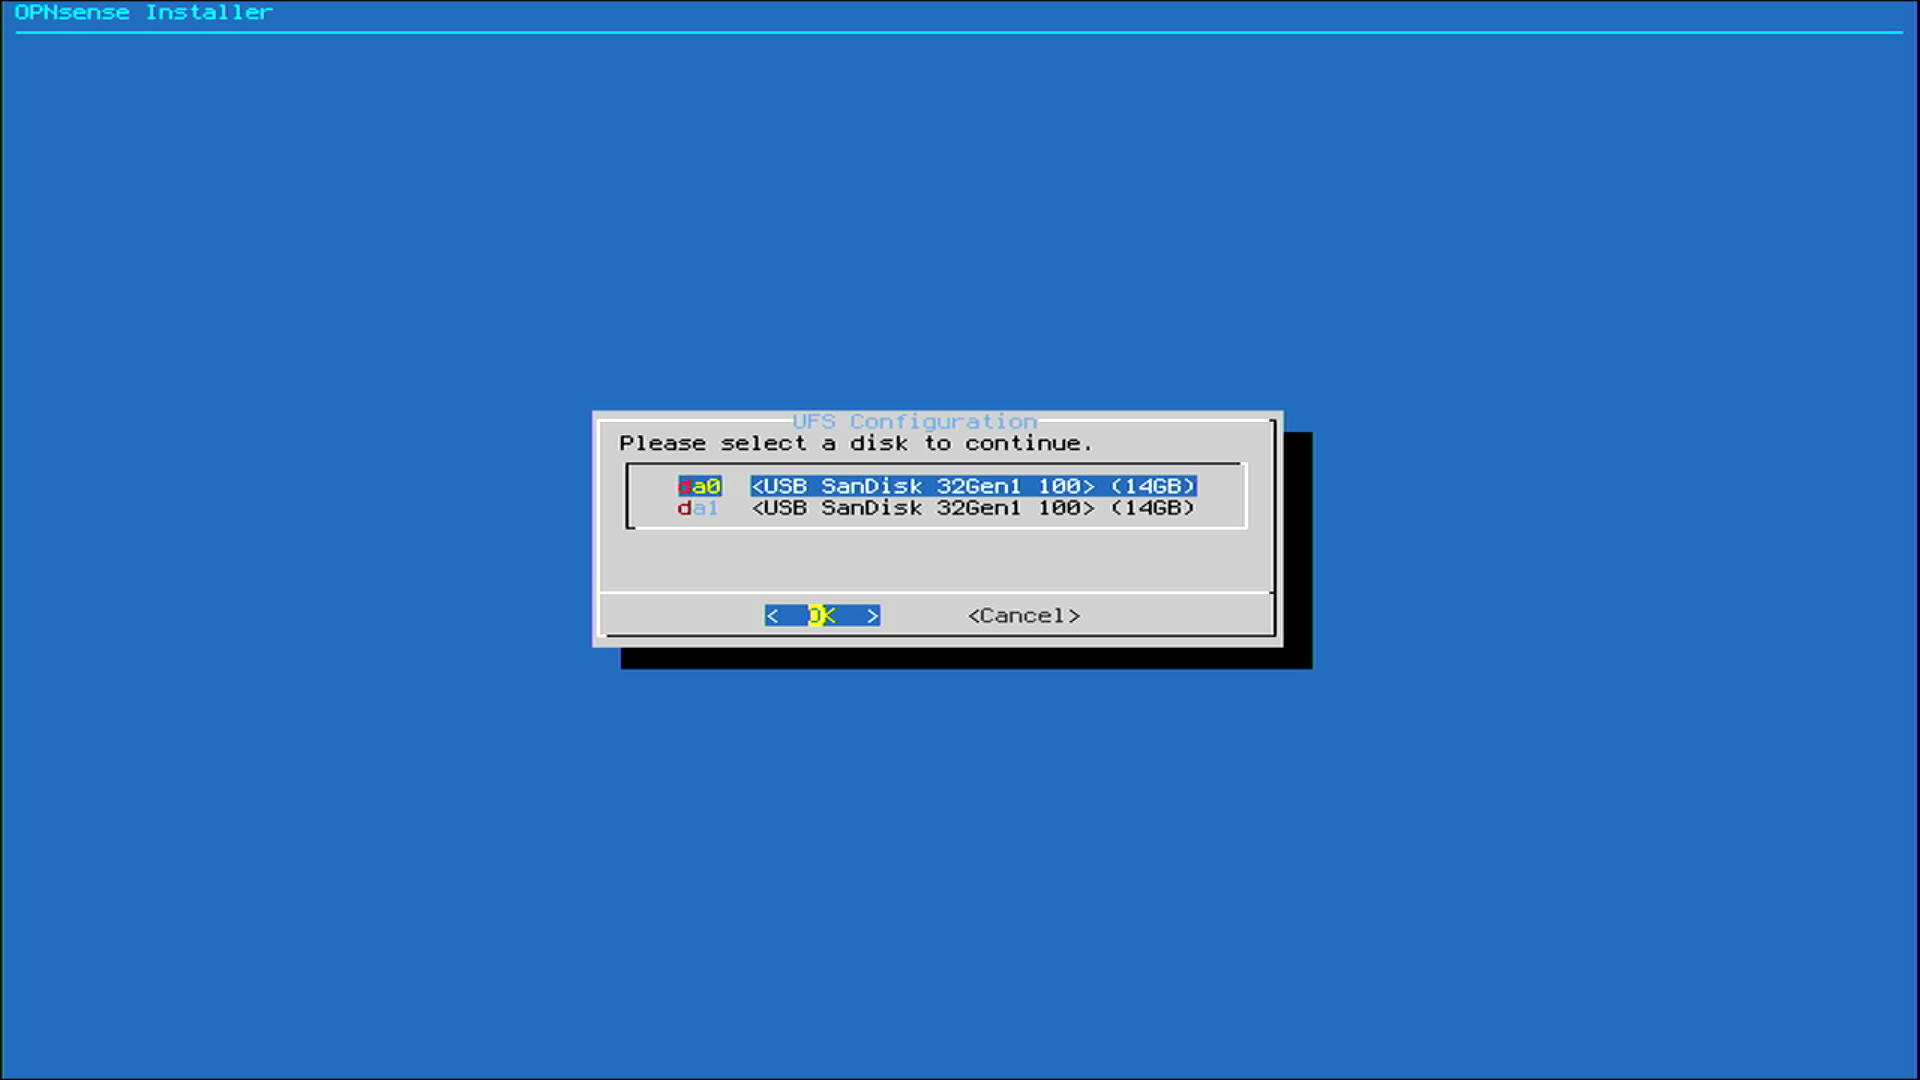
- Step 8. Select the connected external drive and press ENTER
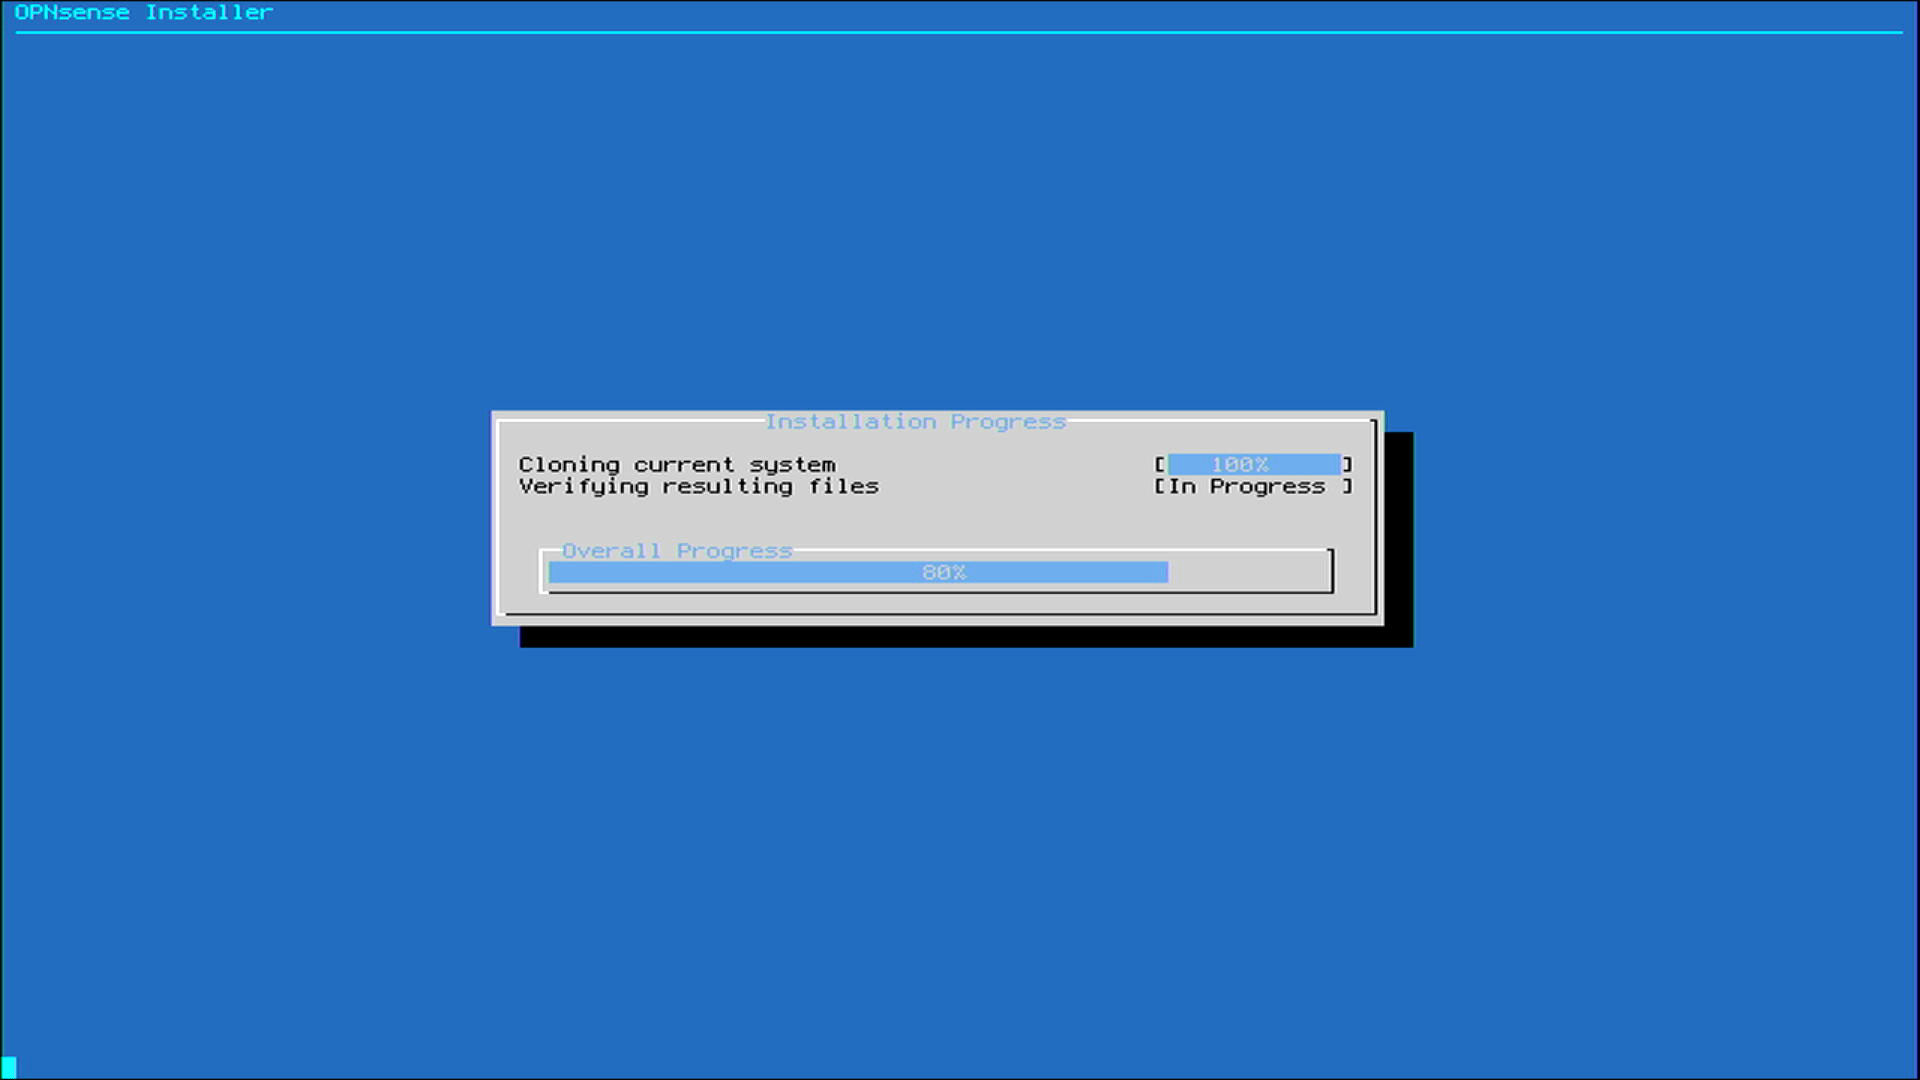
Now it will start installing OPNsense on the connected external drive
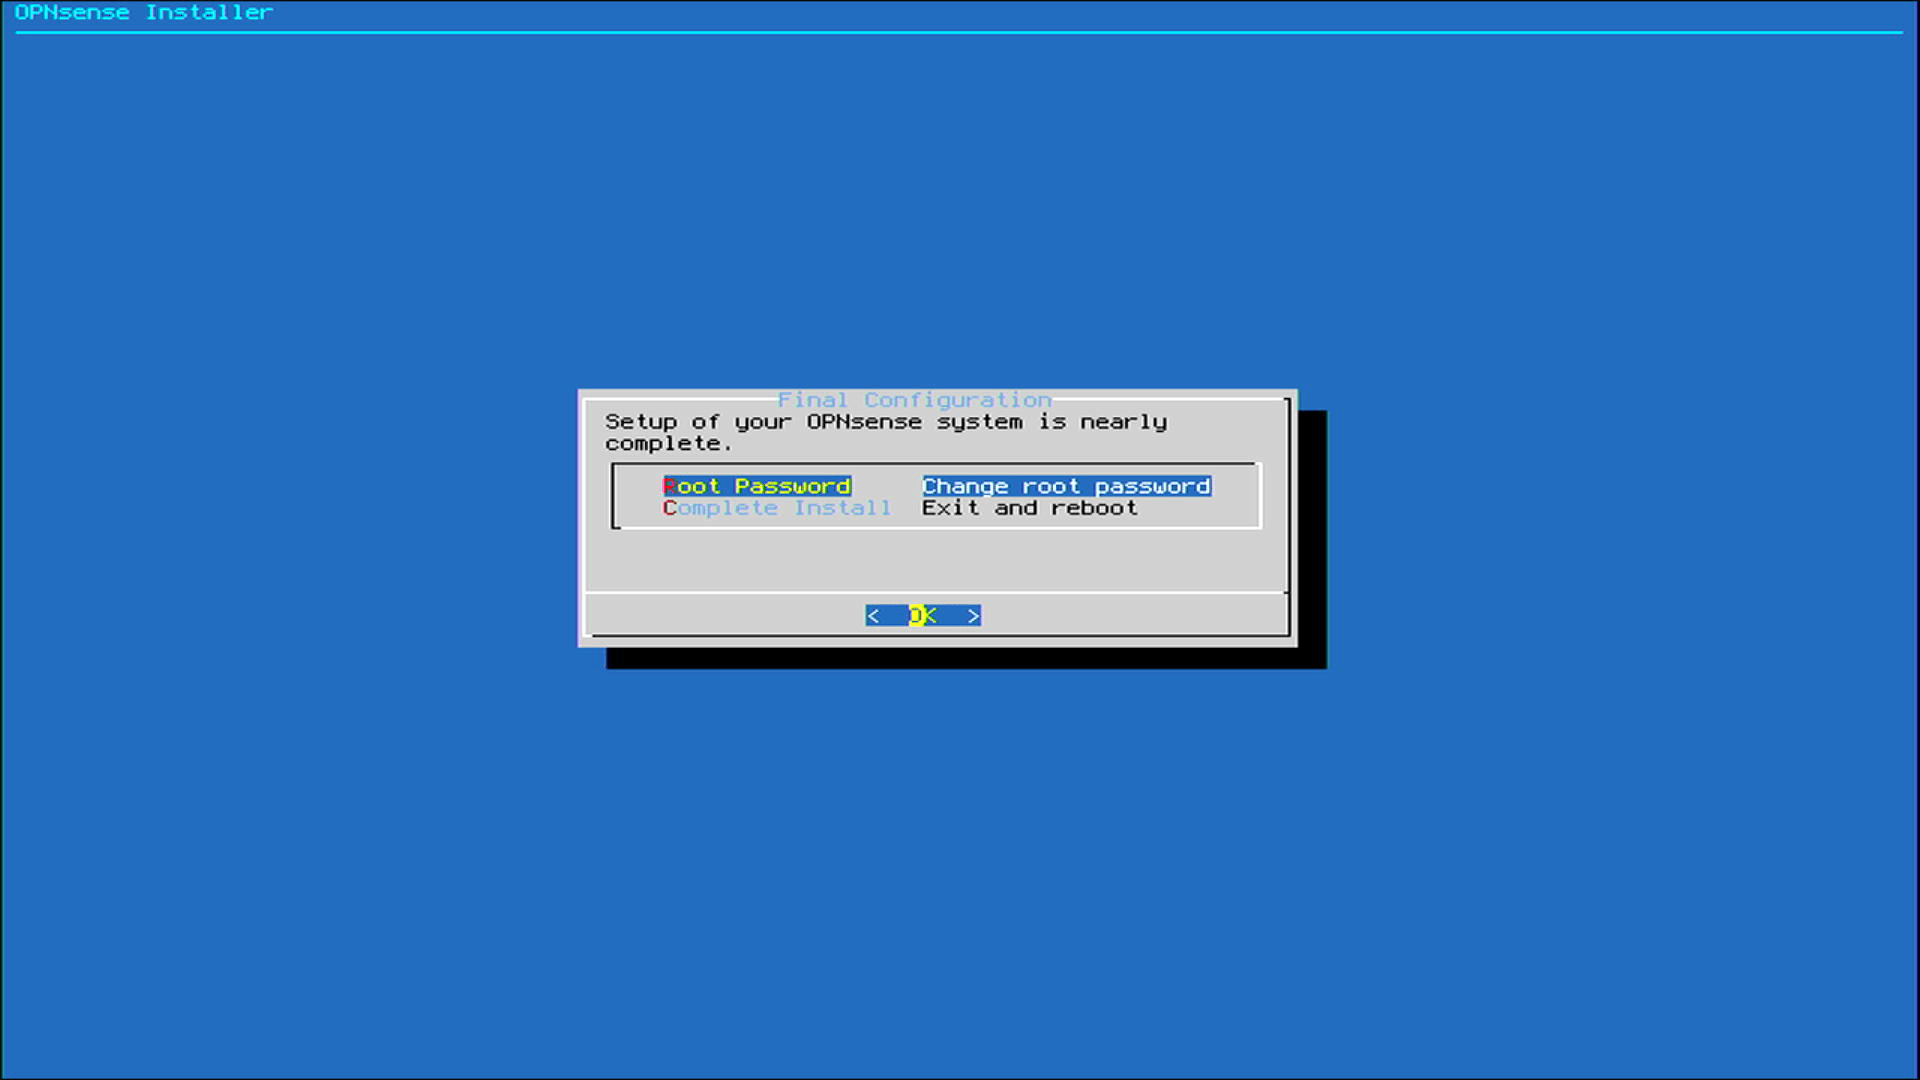
- Step 9. Impotent Step, once the installation is complete, it will ask you to change the root password. This is recommended. Press ENTER on the window and change the root password

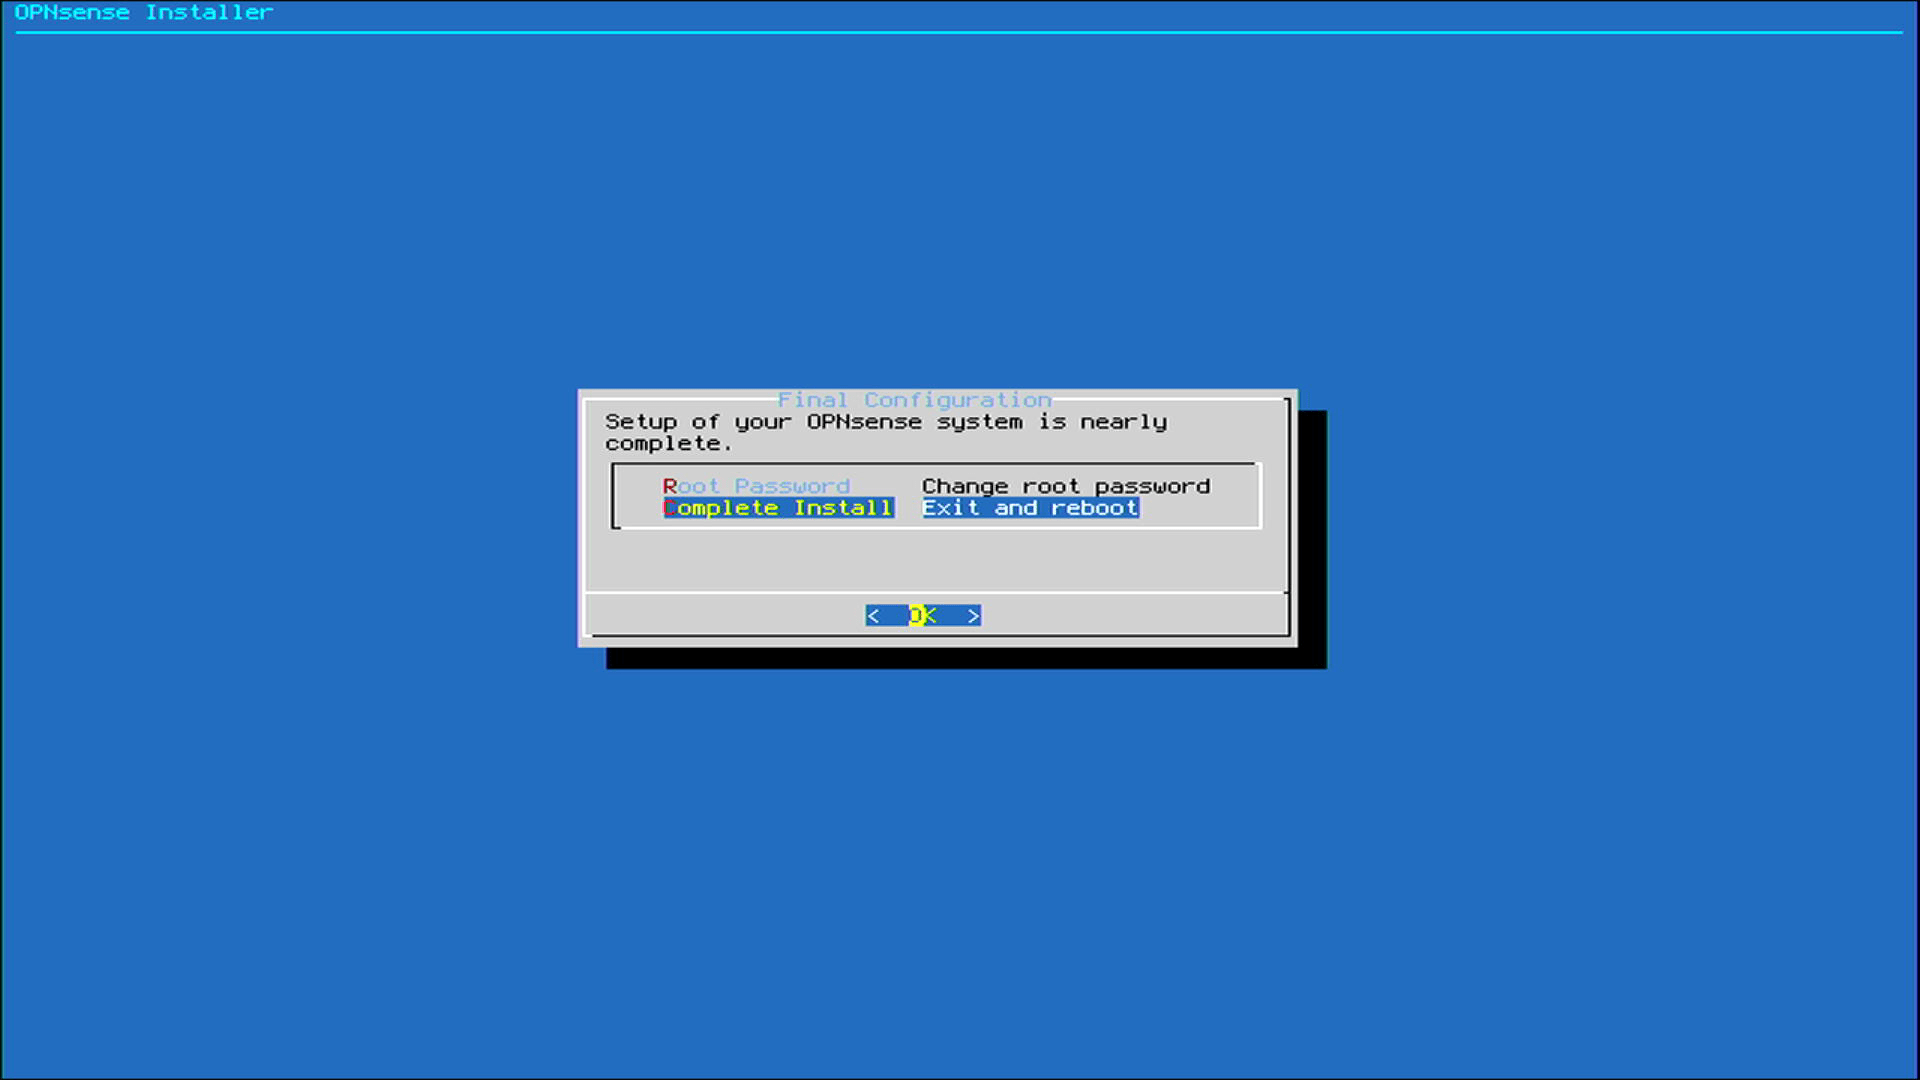
- Step 10. Select Complete Install and press ENTER to reboot
- Step 11. As the system starts booting again, remove the USB Flash Drive, enter BIOS, select the connected internal drive as the boot device and boot again

Now GA-J1800N-D2H will boot from the external drive into OPNsense and you will see the following output if it boots successfully

Access Console Menu:
- After installing OPNsense, you’ll be prompted to access the console menu.
- Log in with the default credentials:
- Username:
root - Password: Password you have set previously
- Username:
Assign Interfaces in OPNsense
- Identify Interfaces:
- Physically identify which interface is connected to your internet source (modem/router) and which is connected to your local network switch or directly to a computer.
- Typically, the pcie network interface (e.g.,
em0) is used for the WAN connection, and the internal one (e.g.,re0) is used for the LAN.
- Select Interface Assignment:
- From the console menu, select option
1to assign interfaces - You will see a list of detected network interfaces, such as
em0,em1,igb0,igb1, etc. - Enter the name of the interface you want to assign as the WAN (e.g.,
em0). - Enter the name of the interface you want to assign as the LAN (e.g.,
em1). - This interface will handle internal network traffic within your local network.
- From the console menu, select option
- Save Interface Assignments:
- After assigning the interfaces, confirm your selections.
- The console will display a summary of the assigned interfaces for verification.
- Save the configuration, and the OPNsense system will apply the changes.
- Verify Interface Status:
- Once interfaces are assigned, you should see a confirmation message indicating the WAN and LAN interfaces have been successfully configured.
- The LAN interface will have a default IP address of
192.168.1.1unless changed during setup. (more on this below)
LAN Interface IP Address
By default, OPNsense assigns the LAN interface to IP 192.168.1.1 with the DHCP server enabled. If your OPNsense device is positioned after an ISP router (which often uses 192.168.1.1 on its LAN side), you might want to change the LAN IP of OPNsense to avoid conflicts. Follow these steps to change the LAN IP address:
- After logging in to the console menu, you will see various options for configuration.
- Type
2to set the interface IP address. - Type
1to select the LAN interface to configure. - Type
Nto NOT configure the IPv4 address for the LAN interface via DHCP. - Type
192.168.2.1as the new LAN IPv4 address (or choose any IP address of your choice to avoid conflicts). - Type
24as the new LAN IPv4 subnet bit count to configure the subnet as/24. - Press
ENTERto configure for LAN, not for WAN. - Press
ENTERto skip configuring the IPv6 address for the LAN interface via WAN tracking. - Type
yto enable the DHCP server on the LAN interface. - Set DHCP Range:
- Type
192.168.2.10as the start address of the IPv4 client address range. - Type
192.168.2.254as the end address of the IPv4 client address range.
- Type
- Keep Web GUI Protocol:
- Type
Nto NOT change the web GUI protocol from HTTPS to HTTP.
- Type
- Skip Web GUI Certificate:
- Type
Nto NOT generate a new self-signed web GUI certificate.
- Type
- Skip Restoring Web GUI Defaults:
- Type
Nto NOT restore web GUI access defaults.
- Type
If you are using OPNsense as the main router, you can keep the default LAN IP address of 192.168.1.1/24 and skip these steps. This is typically sufficient for most setups where OPNsense acts as the primary network gateway.
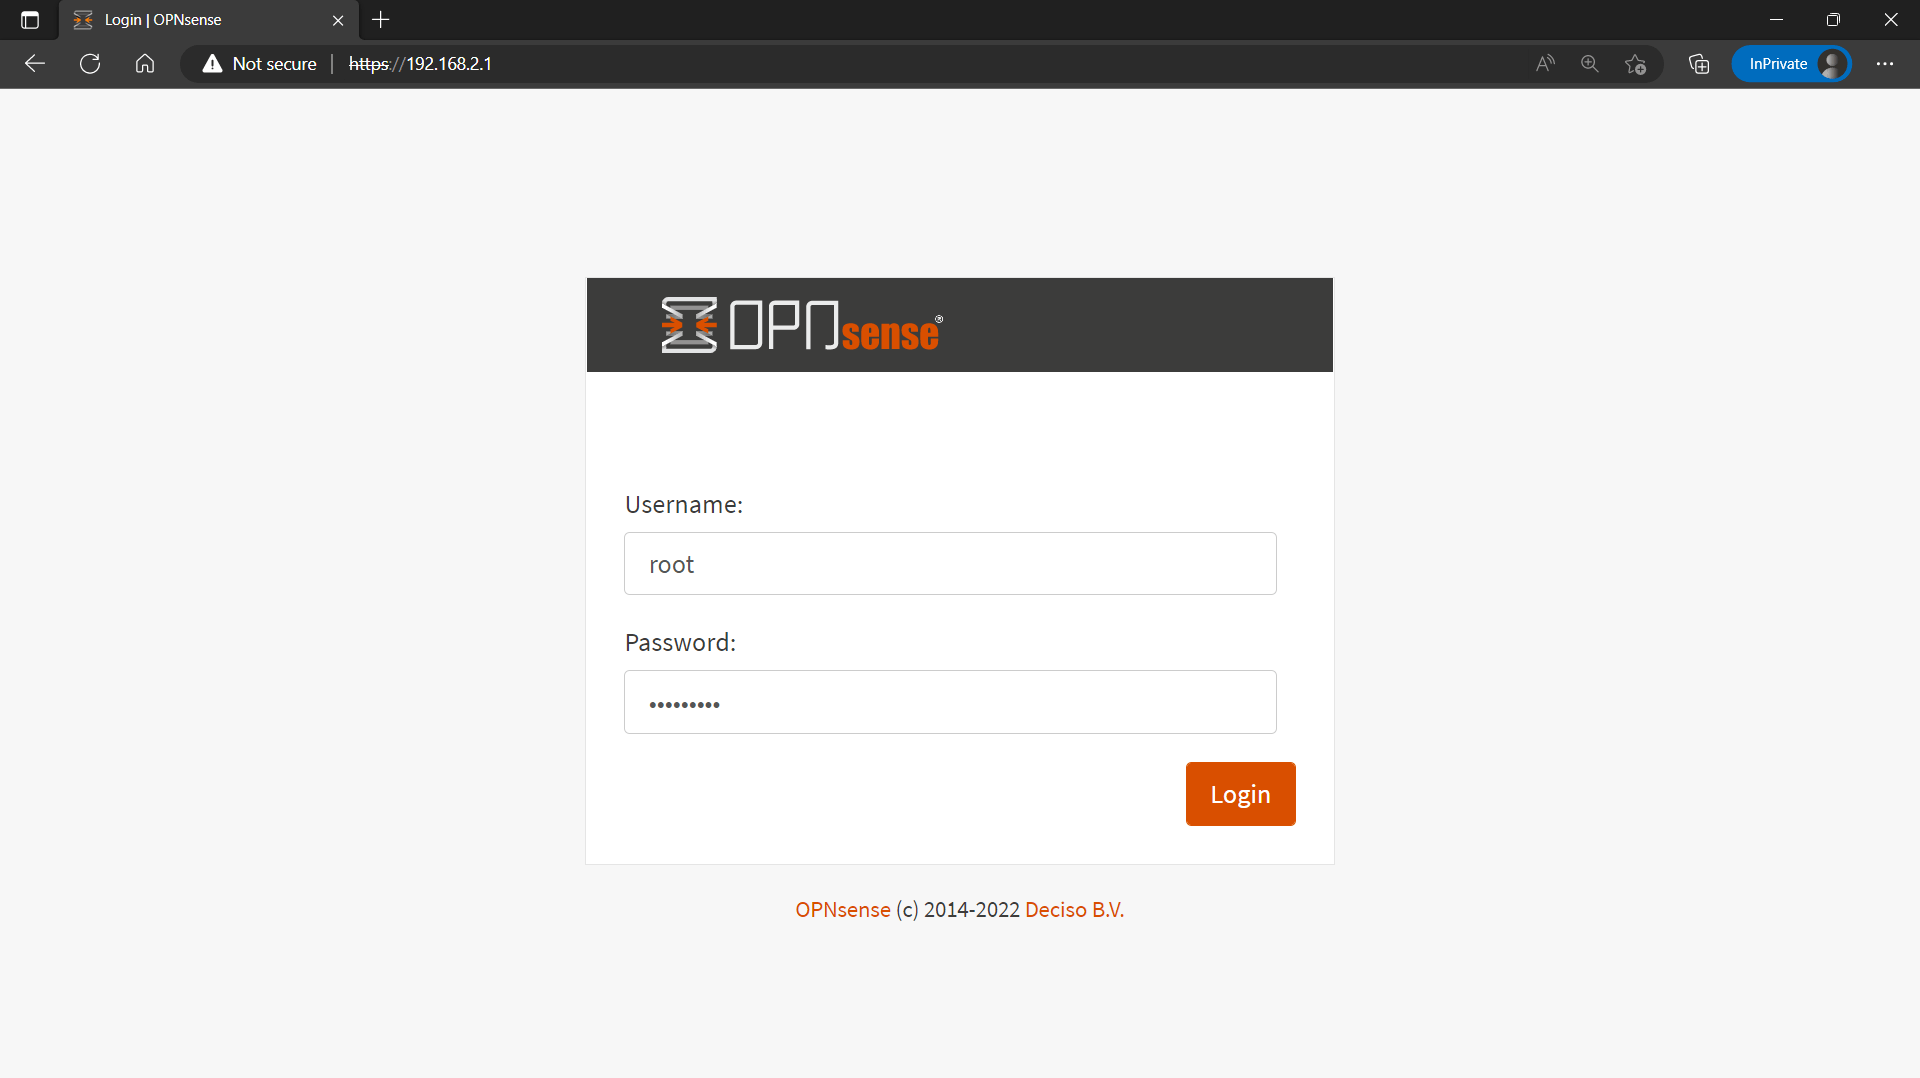
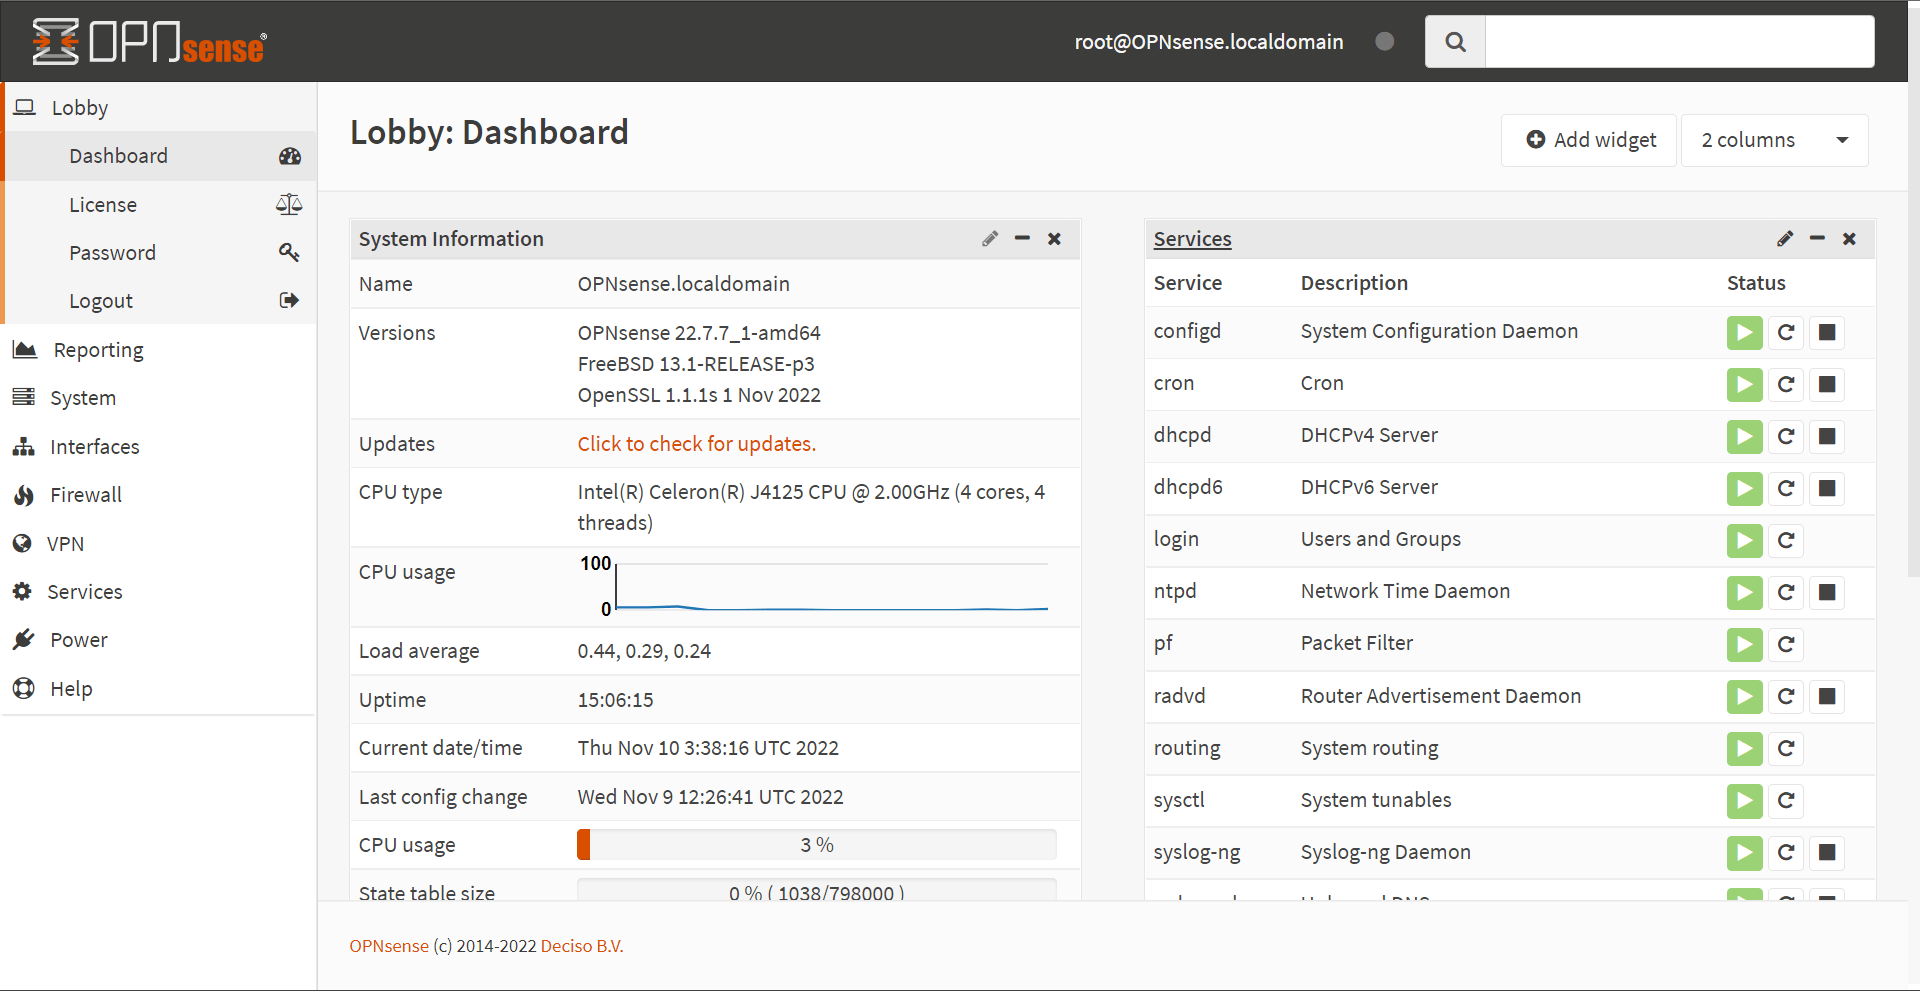
Accessing the Web Interface
To begin, log in to the XigmaNAS web interface. You should already have your LAN interface configured, so access the web interface using the LAN IP address you set up earlier.